


Introduction #
Automations on noem.AI are designed to enhance your productivity by automating repetitive tasks such as content generation and posting. With the help of Agent Noems, you can set up rules and preferences tailored to your needs, allowing the platform to handle tasks efficiently. This guide will walk you through the process of setting up automations step by step, ensuring a seamless experience.
Step 1: Accessing Automations #
To begin setting up automations, follow these steps:
- Ask directly to any Agent Noem:
- Pick your desired Noem, and give the instructions directly, he will guide you to the process.
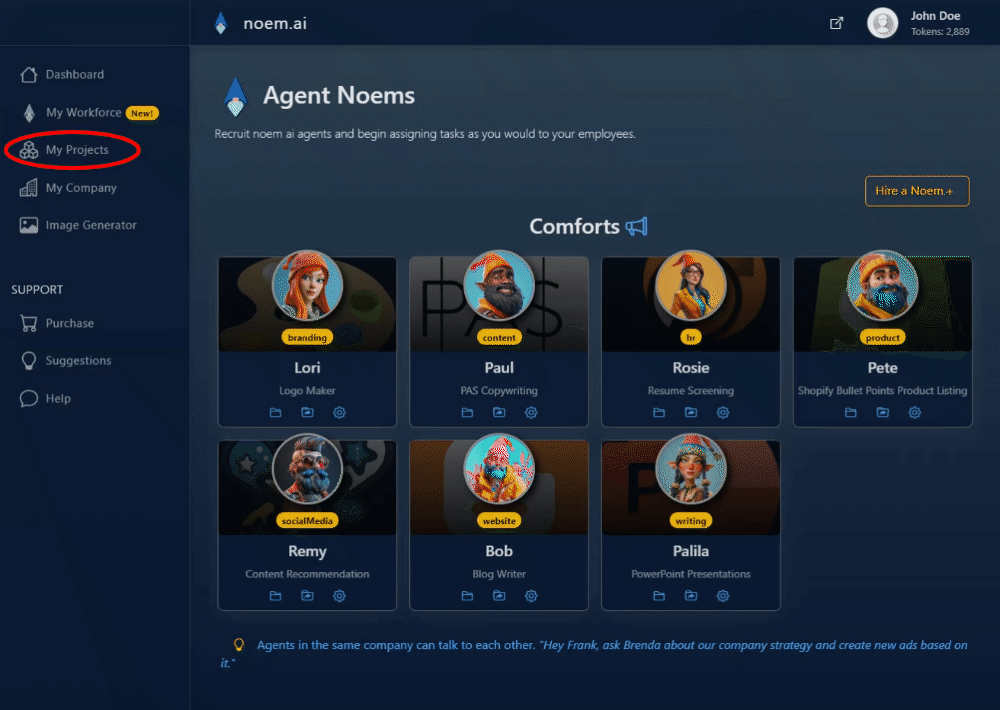
- Or Navigate to Your Project:
- Start by accessing your project through the “Projects” dashboard on noem.AI. Choose an existing project or create a new one if needed.
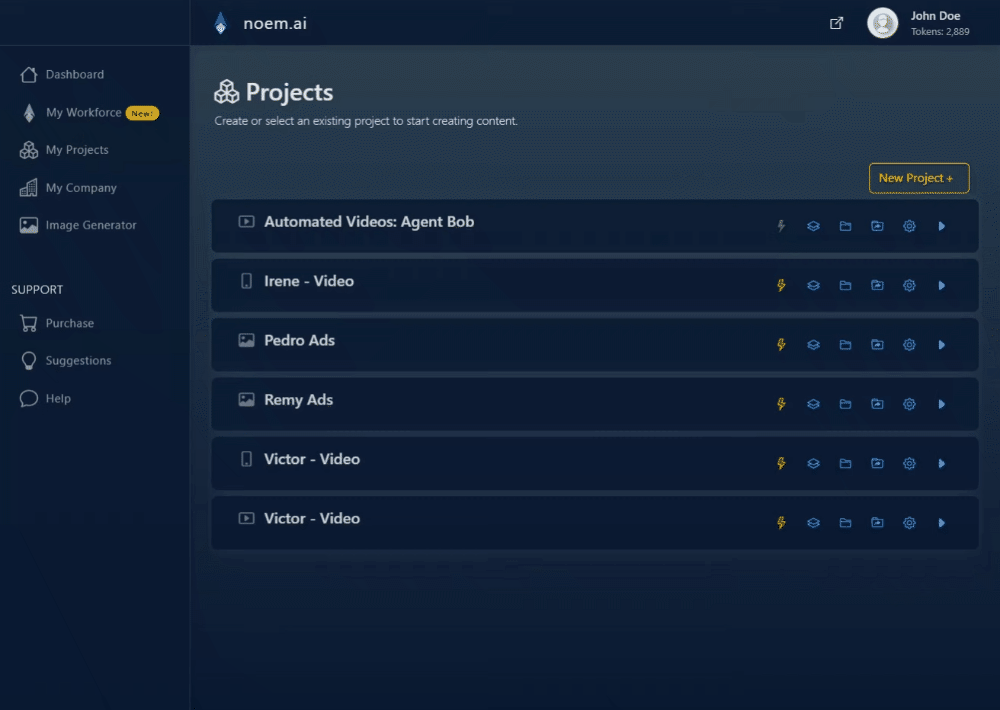
- Access Automations:
- Within your project, locate the automations feature represented by a lightning bolt icon in the main menu. Click on this icon to open the automations page where you can manage your automations.
Step 2: Understanding Automation Triggers #
Before you proceed, familiarize yourself with the triggers that initiate them:
- Time-Based Triggers: Set to execute tasks at specific times or days of the week. For example, schedule content generation every Monday at 10 AM or daily at 5 PM.
- Custom Triggers: Utilize project-specific data such as keywords, hashtags, or events to trigger them. For instance, automate content creation whenever a new blog post is published or a trending hashtag appears on social media.
- Using Agent Noems:
- You can instruct Agent Noems, to set up automations using natural language commands. Simply interact with Agent via the chat box to create or modify automations according to your preferences.
Step 3: Creating Your First Automation #
Follow these steps to set up your first automation:
- Select Days and Times:
- Choose the specific days of the week and times when you want content to be generated and posted. Customize these settings based on your content strategy.
- Confirm Delivery Preferences:
- Specify your email address for content delivery notifications. This ensures you receive updates on generated content.
- Link Social Media Accounts:
- Navigate to the “Link Accounts” section to connect your social media platforms (e.g., Facebook, Twitter, Instagram). This integration enables automated posting directly from noem.AI.
- Save Your Settings:
- Once configured, save your automation settings. Sit back and let noem.AI handle content generation and posting according to your defined schedule.
Step 4: Managing Automations #
After setting up, manage them as needed:
- Viewing Automations:
- Access the automations page to view a list of all active automations. Here, you can see triggers, actions, and current statuses.
- Editing:
- Click on the lightning bolt icon next to an automation to edit its settings. Make adjustments such as changing days, times, delivery preferences, or linked social media accounts.
- Disabling or Deleting:
- To disable an automation, uncheck the boxes corresponding to selected days and times, then save your changes. To delete an automation, click on the trash icon next to its name and confirm your decision.
With the Agent Noems on noem.AI, you can automate tasks effectively while maintaining flexibility to manage automations manually as per your preference. Enjoy increased efficiency and focus on strategic initiatives while noem.AI handles routine tasks seamlessly.
For further assistance or inquiries, contact our support team through the “Help” section on our platform. Happy automating!


Leave a Reply