Table of Contents
Introduction #
Project settings in noem.AI allow you to tailor your project experience to meet your specific needs. Below is a detailed guide on how to navigate and utilize the project settings effectively.
Accessing Project Settings #
- Log in to Your noem.AI Account:
- Use your credentials to log in to your noem.AI account.
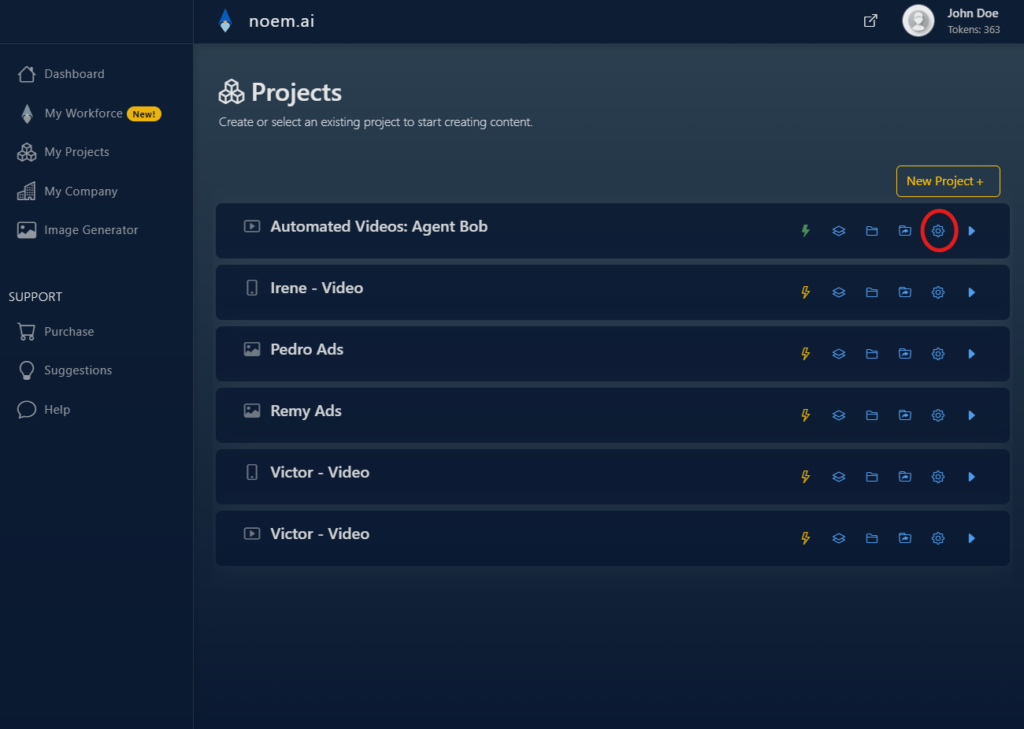
- Navigate to the “Projects” Dashboard:
- Access the dashboard where your projects are listed.
- Select the Project:
- Identify the project you want to configure and click on the “Settings” icon.
Editing Project Information #
When managing your project in noem.AI, you can easily update various aspects of the project to ensure it remains accurate and well-organized. Below are the steps to update key project details:
- Project Name:
- Update the project name to reflect the current project accurately. This helps in distinguishing between different projects on the dashboard.
- Company Profile:
- Click here to verify the information of your company and Tell Us About Your Company.
- Provide detailed information about your company, including products or services offered.
- Tags:
- Optionally, add tags to enhance the visibility and categorization of your project. Use handles, product names, or relevant keywords.
- Add User: To collaborate with others, you can add additional users to your project, assigning them roles based on their responsibilities. Project Admin: Grant full administrative access to a user, allowing them to manage all aspects of the project. Regular User: Assign a user with limited access, enabling them to contribute to the project without full administrative privileges.
Managing Users and Access Levels #
- Users with Access:
- View a list of users who have access to the project along with their access levels. The “Owner” has full control over the project.
- Adding Users:
- In the “Add User” section, invite new users to the project by entering their email addresses and assigning access levels.
- Access Levels:
- Define access levels for users, such as “Admin” or “Member.” Owners have complete control, Admins can make changes, and Members have read-only access.
- Deleting Users:
- Remove users by selecting the “Delete” option next to their email address.
Saving Changes #
- Save Updates:
- After making necessary adjustments, click on the “Save” or “Update” button to apply the changes.


