Table of Contents
Overview
The Wix installation method lets you embed your Noem AI chatbot directly on your Wix website using a short code snippet. Once added, the chatbot will appear on all your site pages, allowing visitors to interact with your AI assistant for questions, support, or shopping guidance—without any additional setup.
Applies to: All plans with Deployment access
Platform: Wix Studio and Wix Editor
Why Add Noem AI to Wix? #
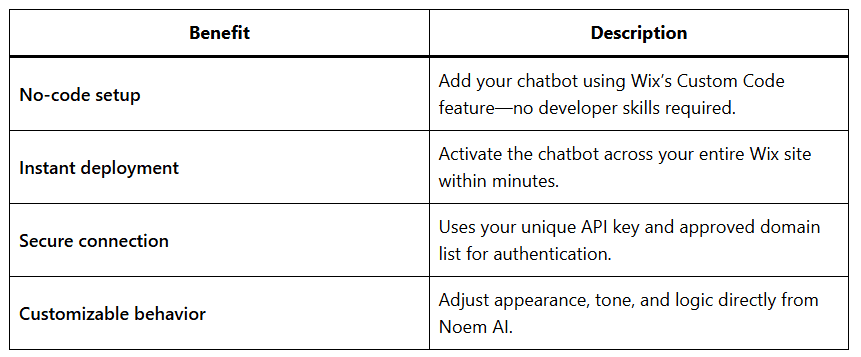
Prerequisites #
Before starting, make sure you have:
- A published chatbot in your Noem AI workspace.
- Access to your Wix Studio Admin account.
- Your chatbot’s Website Integration Code Snippet from Noem AI (found under “Deploy → Website Integration”).
- Your site’s domain (e.g.,
mysite.com) added to the Approved Domains list in Noem AI.
Step-by-Step Installation Guide #
Step 1 — Log into Wix Studio #
- Go to your Wix Studio Admin account and sign in.
- At the top navigation bar, select All Sites, then choose the website where you want to install the chatbot.
Step 2 — Open Site Settings #
- From the left-hand menu, click Settings.
- Scroll down and select Custom Code.
Step 3 — Add the Noem AI Chatbot Code #
- In the Custom Code section, click Add Custom Code (top-right corner).
- Go to your Noem AI dashboard → Deploy → Website Integration.
- Copy the chatbot code snippet (click Copy Code to copy it to your clipboard).
- Return to Wix and paste the snippet into the Paste the code snippet here field.
⚙️ Example placement:
<script src="https://app.noem.ai/js/ChatBot.js" ></script> <script> document.addEventListener("DOMContentLoaded", ()=> { let currentUser = { email: null ,displayName: 'Guest',userProfileUrl: ''}; const bot = new ChatBot( 'YOUR_CHATBOT_API_KEY', currentUser); bot.init(); }); </script>
Step 4 — Configure the Code Settings #
- In the Name field, type NOEM-AI.
- Under Place Code in, select Body – end.
- Click Apply or Save to confirm the changes.
This ensures the chatbot script loads after your main content, optimizing site performance.
Step 5 — Approve Your Domain in Noem AI #
- In your Noem AI account, open the Deploy tab.
- Scroll to Approved Domains.
- Add your website’s domain (e.g.,
mysite.com). - Click Save.
🔒 Only approved domains can display your chatbot to prevent unauthorized embedding.
Step 6 — Test Your Chatbot #
- Open your Wix website in a new browser tab.
- Refresh the page—your chatbot widget should now appear in the bottom corner.
- Try asking a question or initiating a conversation to confirm it’s active.
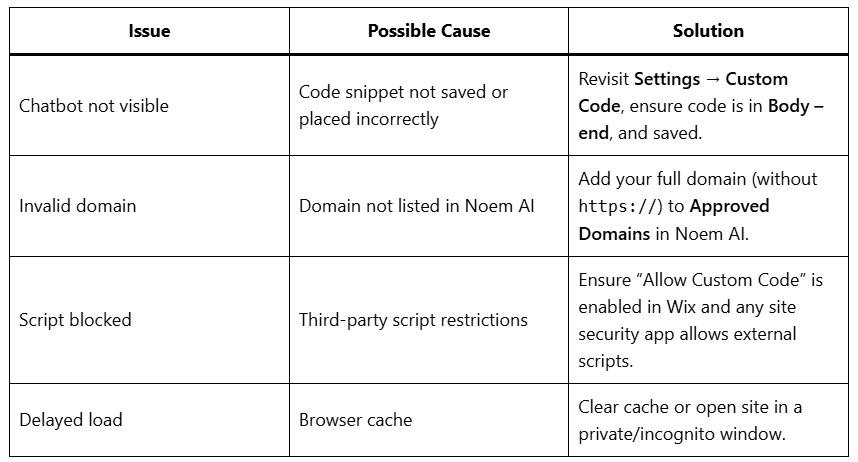
Troubleshooting #
Best Practices #
- Use Body – end placement for optimal load times.
- Verify your Approved Domains list matches your live URL (no trailing slashes).
- Test on both desktop and mobile to confirm chatbot visibility.
- If you manage multiple sites, repeat the setup for each domain using the same integration snippet.
Next Steps #
- Customize widget design and greetings in Noem AI → Deployment Settings.
- Add integrations (e.g., Shopify, Zendesk, Twilio) to enhance capabilities.
- Monitor chat performance under Analytics → Conversations in Noem AI.


