Overview
The Noem AI WordPress Plugin lets you quickly deploy your chatbot to any WordPress website without coding. Once installed, the bot appears on your pages as an interactive chat widget, allowing visitors to ask questions, get support, or shop directly through your AI assistant.
This guide walks you through downloading, installing, activating, and connecting the Noem AI plugin to your account.
Applies to: All plans with Deployment access
Platform: WordPress (v5.0 or later, PHP 7.4+)
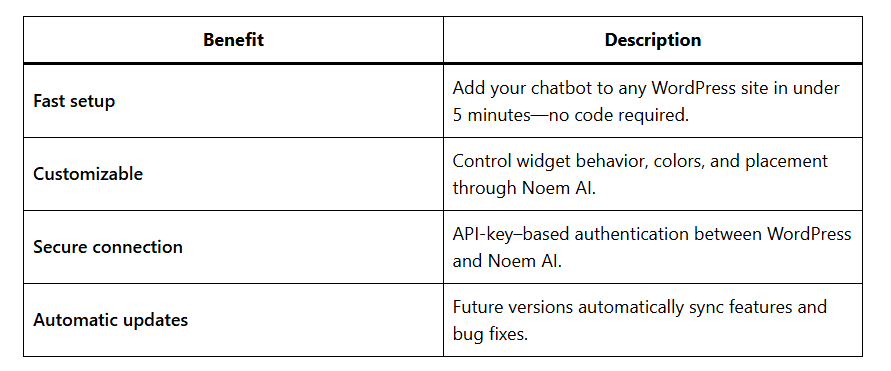
Why Use the Noem AI WordPress Plugin? #
Prerequisites #
Before you begin, ensure you have:
- A published chatbot in your Noem AI workspace.
- An active Noem AI account API Key (found under Deployment → API Key).
- Admin access to your WordPress Dashboard.
- Your website’s domain (e.g.,
mysite.com) added to your Approved Domains list in Noem AI.
Step-by-Step Installation Guide #
Step 1 — Download the Plugin #
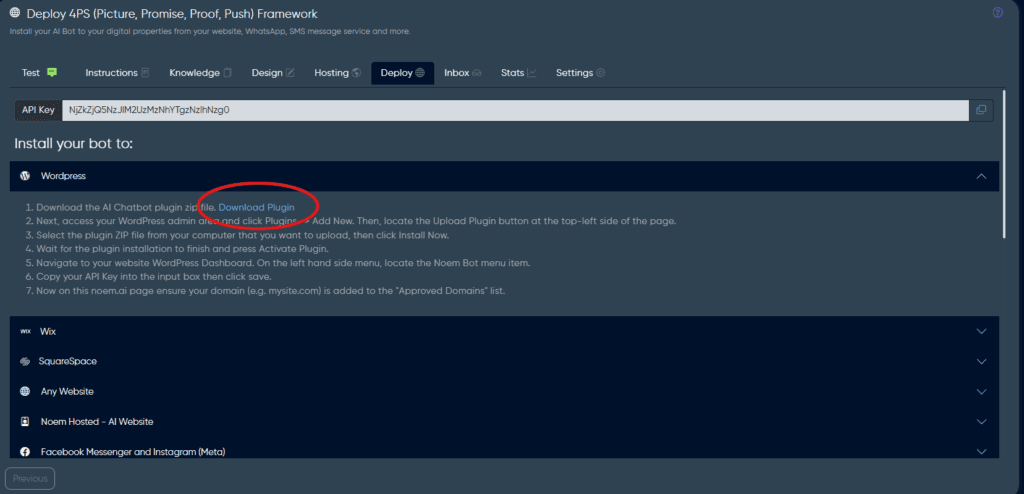
- In your Noem AI dashboard, go to Deploy → WordPress.
- Click Download Plugin to download the
.zipfile (e.g.,noem-ai-chatbot.zip) to your computer.
Step 2 — Upload and Install the Plugin in WordPress #
- Log in to your WordPress Admin Dashboard (
yoursite.com/wp-admin). - From the left-hand menu, click Plugins → Add New.
- At the top of the page, click Upload Plugin.
- Click Choose File, select the downloaded
noem-ai-chatbot.zipfile, and click Install Now. - Once the installation completes, click Activate Plugin.
Tip: After activation, you’ll see a new menu item called Noem Bot on your left-hand navigation panel.
Step 3 — Connect Your Bot Using an API Key #
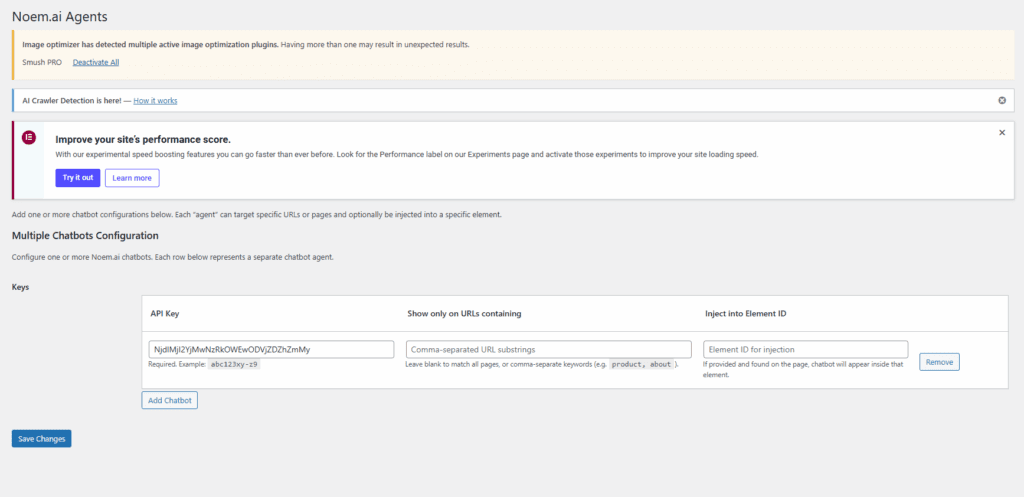
- In your WordPress Dashboard, click Noem Bot in the left-hand menu.
- In the plugin’s settings panel, paste your Noem AI API Key into the input box.
- Click Save.
This securely connects your WordPress site to your Noem AI chatbot.
Step 4 — Approve Your Domain in Noem AI #
- Go back to your Noem AI account.
- Navigate to Deploy → Approved Domains.
- Add your website’s domain (e.g.,
mysite.com) to the approved list. - Click Save.
Note: The chatbot will only appear on domains listed under Approved Domains for security reasons.
Step 5 — Verify Installation #
Visit your WordPress site in a new browser window.
- You should now see the Noem AI chatbot widget on your site.
- If it doesn’t appear immediately, clear your cache or refresh the page.
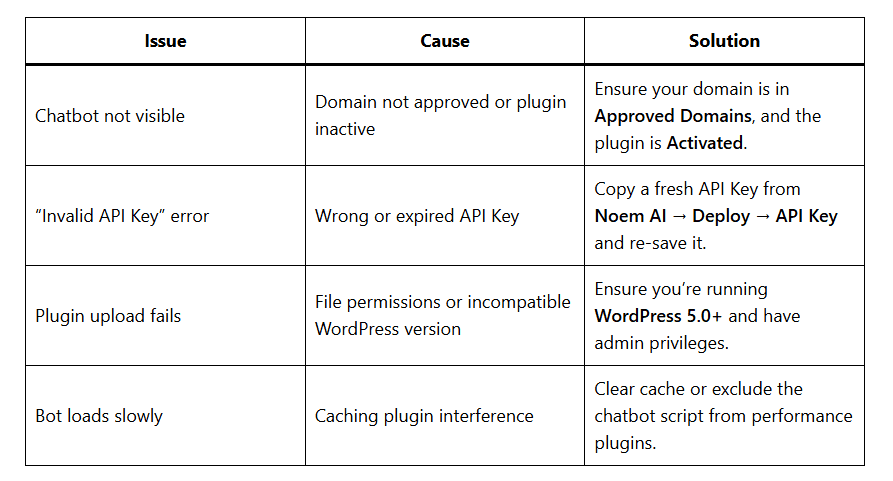
Troubleshooting #
Best Practices #
- Keep the plugin up to date to benefit from improvements.
- Use the Approved Domains list to control where your bot appears.
- Customize the bot’s tone and design in Noem AI → Instructions before deployment.
- Test the chatbot on desktop and mobile to ensure optimal positioning.


